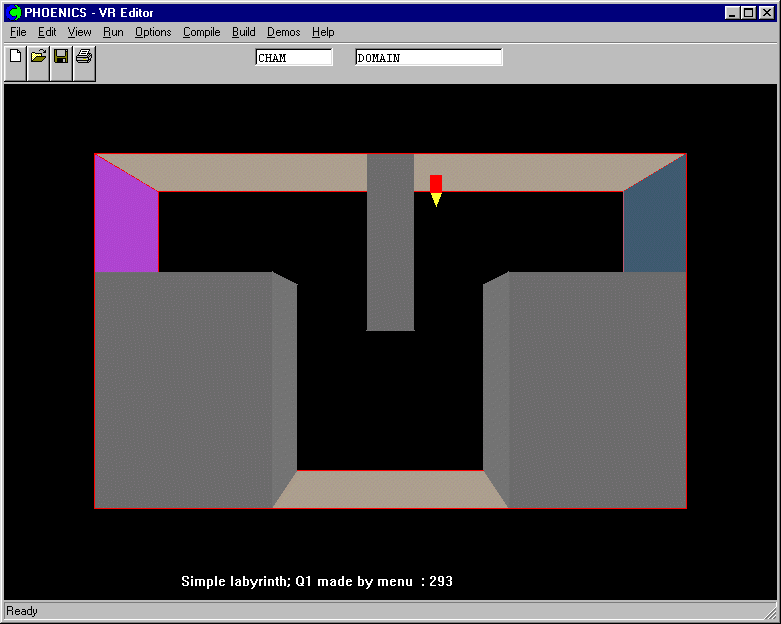
This workshop shows how the LVEL model can be applied to a case with several blockages, in order to calculate the distance from each cell to the nearest wall. It is based on Library Case 293.

From the system level:
To enter the PHOENICS-VR environment, click on the PHOENICS icon on the desktop, or click on Start, programs, PHOENICS, PHOENICS.
This is the default mode of operation.
From the commander level:
To enter the PHOENICS-VR environment, click on the 'Run vre' icon in the left column.
Within VR-Editor,
Start with case 293 - click on 'File' then on 'Load from libraries'. Enter 293 in the Case number box, then click on 'OK'; to load the case.
Click on 'SATELLITE command prompt' and press 'return' key until the geometry appears on the screen. You may now close the command prompt.
Reset the material of the blockages
The three blockages are made of material 199 - this allows fluid slip. It provides no boundary conditions for the wall-distance calculations.
Click on each blockage in turn, to bring up its Object specification dialog box. Click on Attributes, and change the material to 198 - Solid with smooth-wall friction.
Activate the LVEL model
Click on Main Menu, then on Models.
Click on 'Turbulence models' button. From the list of turbulence models, select LVEL.
Use 'Automatic convergence technique'
Click on 'Numerics' and then 'Relaxation control'
Toggle 'Automatic convergence control' from Off to ON.
Click on 'Reset solution defaults'
Click 'Previous panel', 'Top menu' and 'OK' to quit the main menu.
Running the Solver.
In the PHOENICS-VR environment, click on 'Run', 'Solver', and click on 'OK' to confirm running Earth.
In the PHOENICS-VR environment, click on 'Run', 'Post processor',then GUI Post processor (VR Viewer) Viewer)'. Click 'OK' on the file names dialog to accept the default files.
To view:
To select the plotting variable:
To change the direction of the plotting plane, set the slice direction to X, Y or Z
![]()
To change the position of the plotting plane, move the probe using the probe position buttons
 .
.
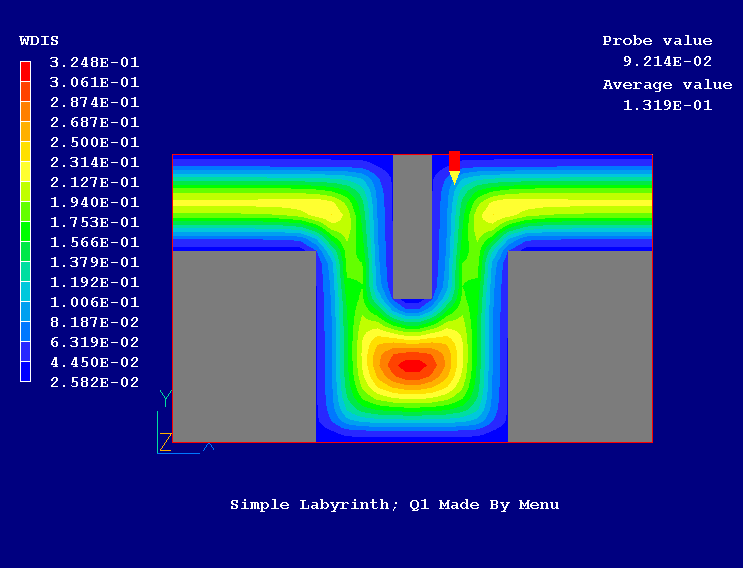
The plot below shows contours of the wall distance variable WDIS.

In the PHOENICS-VR environment, click on 'Save as a case', make a new folder called 'LVEL' (e.g.) and save as 'CASE1' (e.g.).