Encyclopaedia Index
WORKSHOP - Datmaker: Merging and Subtracting Objects
Overview
This tutorial covers the following aspects of Datmaker:
- Merging several objects into a single object
Very often a complex shape can be built up from the simple primitives supplied with PHOENICS - various
combinations of cubes, wedges, cylinders and so on. Once such a shape has been made, it can be tricky to
move it to another location, and very difficult to rotate it to a different alignment.
Datmaker's 'Union' (and 'Merge') options can be used to join several objects into one, making the above
tasks much easier. It can also help with the solids detection, as fewer cells will be occupied by more than one object.
- Subtracting one object from another
A common 'trick' is to use a 'domain material' blockage object to carve a channel of fluid from a larger
solid blockage. In most cases this works well, but the visual representation is not good, as the channel can only
be represented by contours of PRPS.
Datmaker's 'Difference' option can be used to create the solid blockage remaining when the fluid is removed from the
original solid. This provides a much nicer image, and can sometimes help with the solids detection as again fewer cells will
be occupied by more than one object.
The tutorial is in two parts, each addressing one of the above topics.
A complete step-by-step guide, showing how to set the cases from the default mode of
operation, is provided below.
Accessing PHOENICS-VR.
From the system level:
To enter the PHOENICS-VR environment, click on the PHOENICS icon on the desktop, or
click on Start, programs, PHOENICS, PHOENICS.
From the commander level:
To enter the PHOENICS-VR environment, click on the 'Run vre' icon in the left column.
In PHOENICS-VR environment,
Start with an 'empty' case - click on 'File' then on 'Start New Case', then on 'Core'',
then click on 'OK'; to confirm the resetting.
To enter VR Editor:
This is the default mode of operation.
Within VR Editor.
Part 1 - Merging Objects
Click on 'File', 'Load from Libraries', enter 274 in the 'case Number' input box, and clock OK.
Case 274 from the Input Library will be loaded. (when the 'Press RETURN to continue' prompt appears, place the
cursor in the input box at the bottom of the Command Prompt window and press the RETURN key. Then close the
Command prompt window.) The screen should look like this:
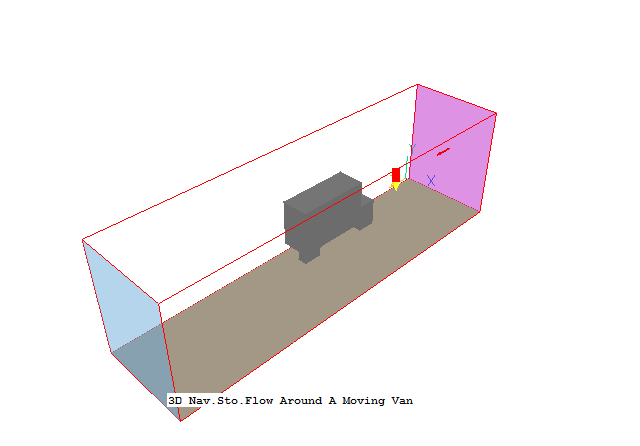
The case concerns flow around a simple representation of a van - half a van really as the X=0 plane is a symmetry
boundary. The body of the van is made up of four separate blockages, as can be seen from the Object Management Dialog
(click  on the VR-Editor panel (or the
O icon on the tool bar).

We will make BODY1, BODY2 FWHL and RWHL into a single object.
Click on BODY1 in the Object management dialog (or the longest of the grey blockages on the screen to select it,
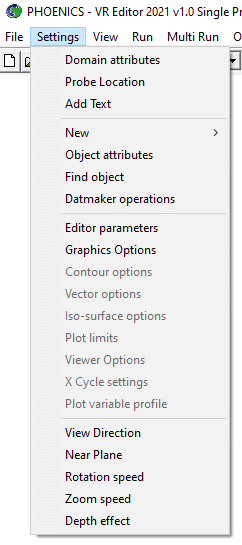
then on 'Settings', 'Datmaker operations'.
The Datmaker GUI should appear:
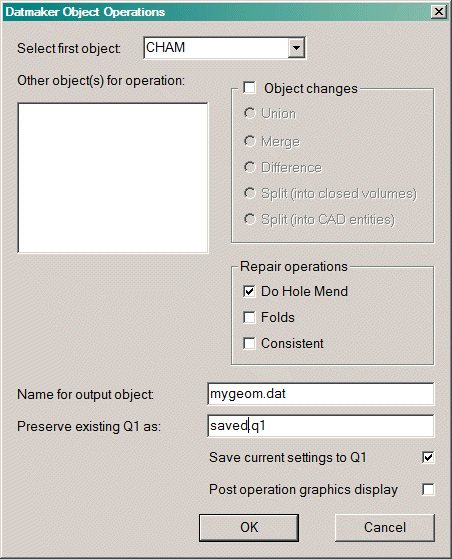
As the object BODY1 should already be selected, the input box for 'Select first object' will
contain BODY1. If it does not, click the down-arrow next to CHAM and select BODY1. This is the first
object to be operated on.
Tick 'Object changes' and then 'Union'. From the 'Other object(s)' list (or the screen) select BODY2, FWHL and
RWHL. Un-tick 'Do hole mend' as we do not need to do any repairs. The screen should look like this:
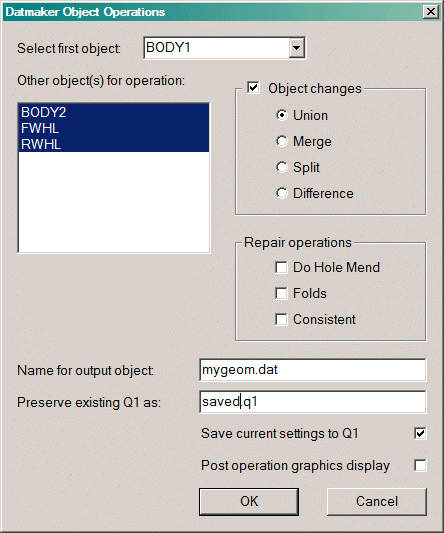
The repaired geometry will be called 'mygeom.dat', and a copy of the Q1 containing the
model in its current (pre-repair) state will be saved to 'saved.q1'. Both these names can be changed
if required. The saved q1 can be used to recover the model should something go very wrong with the repair.
If 'Post operation graphics display' is ticked, Datmaker will display the repaired geometry, but this
is not usually required by users.
Click OK to run Datmaker. The screen should now look like this:
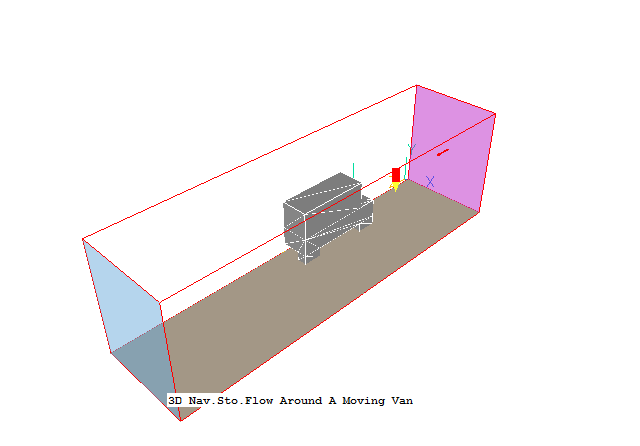
The Object management dialog should now show:

A new object MERGED_1 has appeared, which is the result of merging the selected objects. The originals have been
made into NULL objects. This is to ensure that the mesh is still exactly as it was.
Saving the results.
In the PHOENICS-VR environment, click on 'Save as a case', make a new folder called
'Datmaker', select the new folder, and save as 'Union'.
Part 2 - Subtracting Objects
We will now make a hole through the body of the van by using a domain-material blockage.
On the Object management dialog click 'Object', 'New', 'New object'.
On the 'Place' tab set
Xpos = 0.5
Ypos = 2.0
Zpos = 5.5
On the 'Size' tab set
Xsiz = 0.6
Ysiz = 0.6
Zsiz = 5.0
Back on the 'Place' tab set the Rotation angle about X to 10.
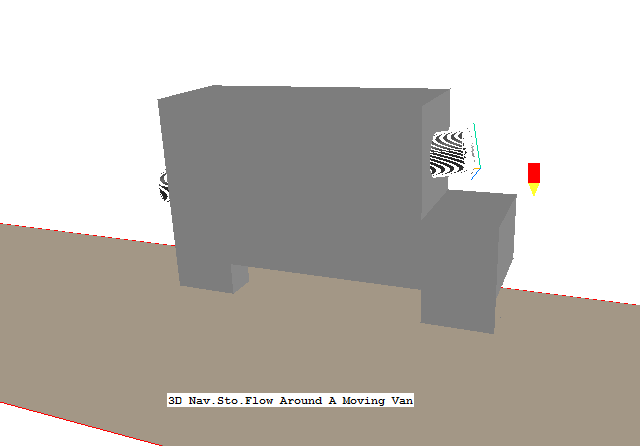
On the 'Shape' tab, click on 'Geometry'. Browse to public\Basic_Shapes and select cylinder.jpg. Click 'Open' and
then OK. The screen should look like this (you will have to rotate and zoom the view to get the same image)
On the 'General' tab click 'Attributes'. Click on 'Other materials' and select 'Domain material'. Click OK to close
Click OK to close the Object Specification dialog.
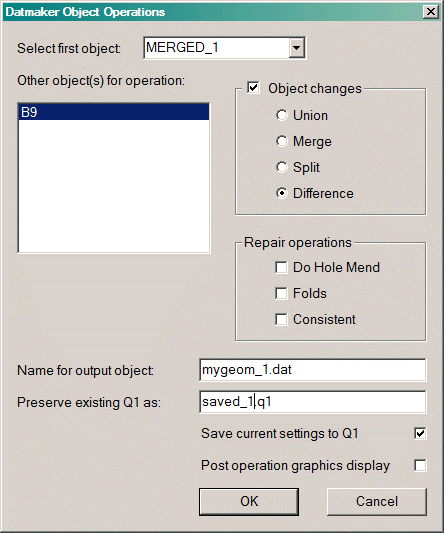
Now to subtract B9 from MERGED_1. Click 'Settings', 'Datmaker operations'. Select MERGED_1 as the 'First object'.
Select B9 as the 'Other object'. For 'Object changes', select 'Difference'. The screen should look like:
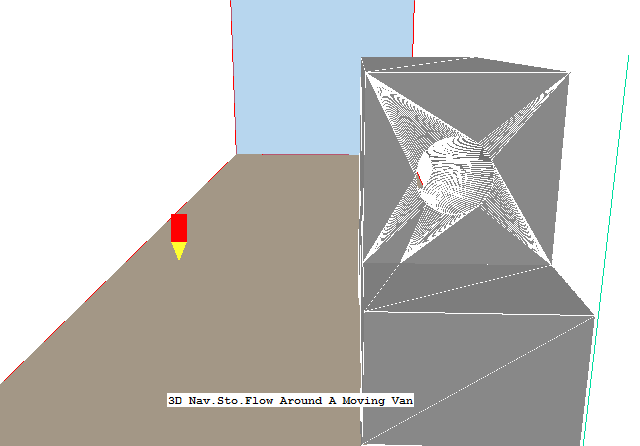
Click OK to run Datmaker.
We should now have a hole through the body of the van:
Checking for Detection Problems
Click on the Mesh toggle  on the
hand-set or toolbar. Clock on 'Manual' in X, Y and Z to switch the mesh to 'Auto'. The grid should now look like
this:
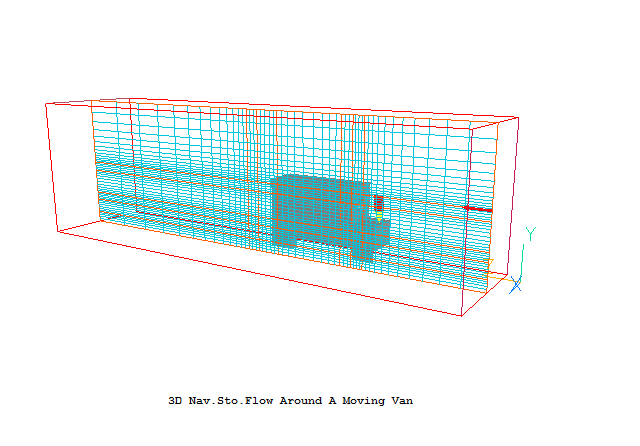
Click on the Mesh toggle to turn off the mesh display.
Click 'Run' 'Solver' to make the Earth run.
Once the Solver run has finished, enter the VR-Viewer to examine the solution (Click
'Run' - 'Post processor' ,'GUI ').
To make it easier to see inside, click on the van body, press the right mouse button and select
'Modify colour'. Tick 'Transparency' to make the object transparent. Click OK to close the dialog
and then anywhere on the background to release the object.
Select the property-marker variable PRPS by clicking the  icon on the
hand-set or toolbar, then selecting PRPS from the list of variables. Switch the contours
on by ticking 'Show contours' on the Viewer Options dialog, or by clicking
  on the hand-set
or toolbar. The PRPS contours should be blue in the airspace, and red inside the
van. Move the prove towards the origin in X until the plotting plane intersects the hole:
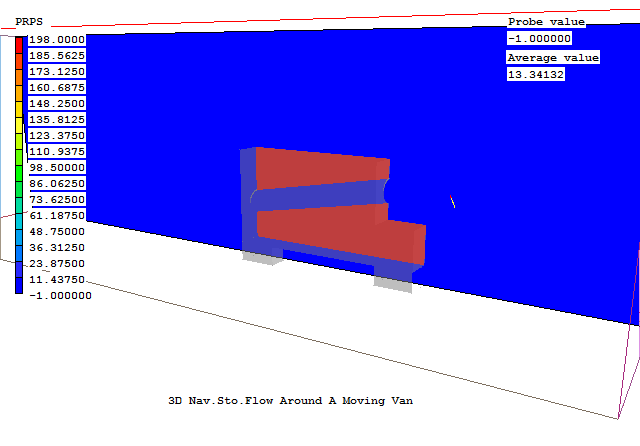
Similarly in the Z plane:
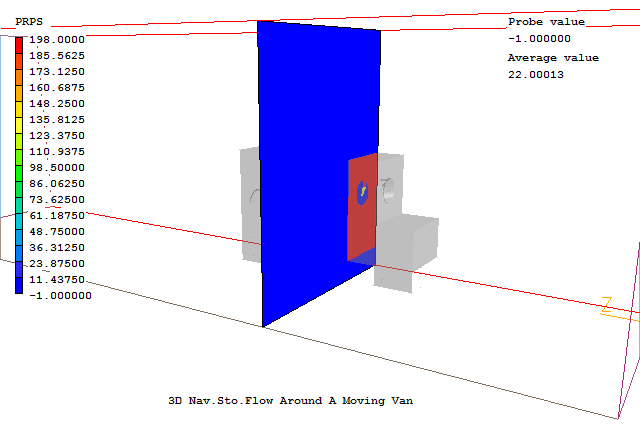
Proceed to plot contours of pressure and Velocity, and display velocity vectors on various
planes to investigate the flow solution.
Saving the results.
In the PHOENICS-VR environment, click on 'Save as a case', and save as 'Datmaker\Subtract'.

![]() on the VR-Editor panel (or the
O icon on the tool bar).
on the VR-Editor panel (or the
O icon on the tool bar).


 on the
hand-set or toolbar. Clock on 'Manual' in X, Y and Z to switch the mesh to 'Auto'. The grid should now look like
this:

